IntelliJ + Gradle
This tutorial provides a beginner-friendly click by click guide to set up Javacord with Intellij and Gradle. If you are already familiar with IntelliJ and Gradle, you can just see the artifact locations at Download / Installation.
🔧 Setup
1. Start IntelliJ
2. Create a new project (File -> New -> Project)

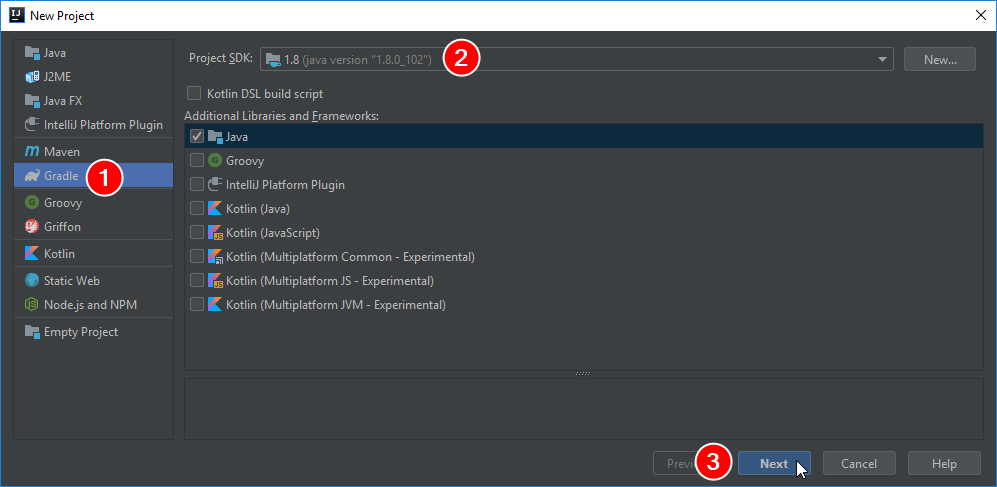
3. Select Gradle
4. Make sure to select an SDK which is 1.8 (or greater)
5. Click Next
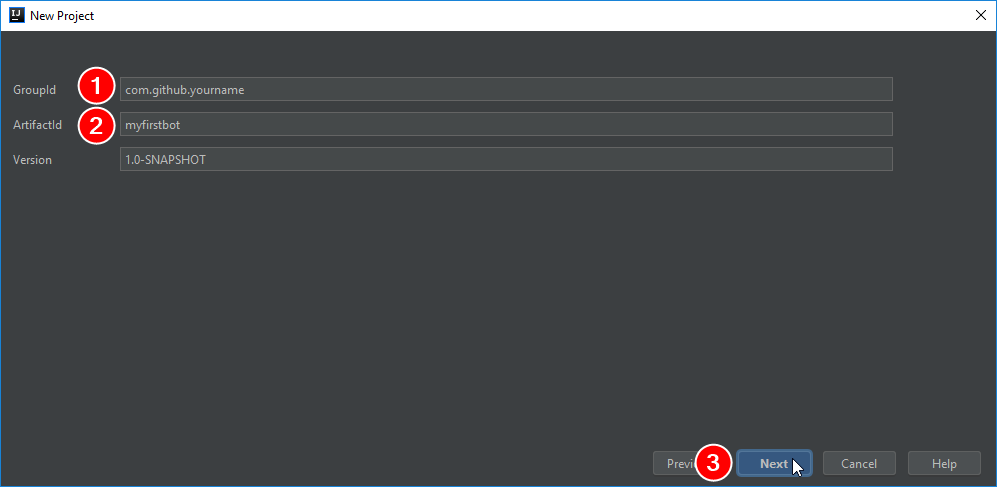
6. Enter a group id (e.g. com.github.yourname)
You can choose whatever you want
7. Enter an artifact id (e.g. myfirstbot)
You can choose whatever you want
8. Click Next
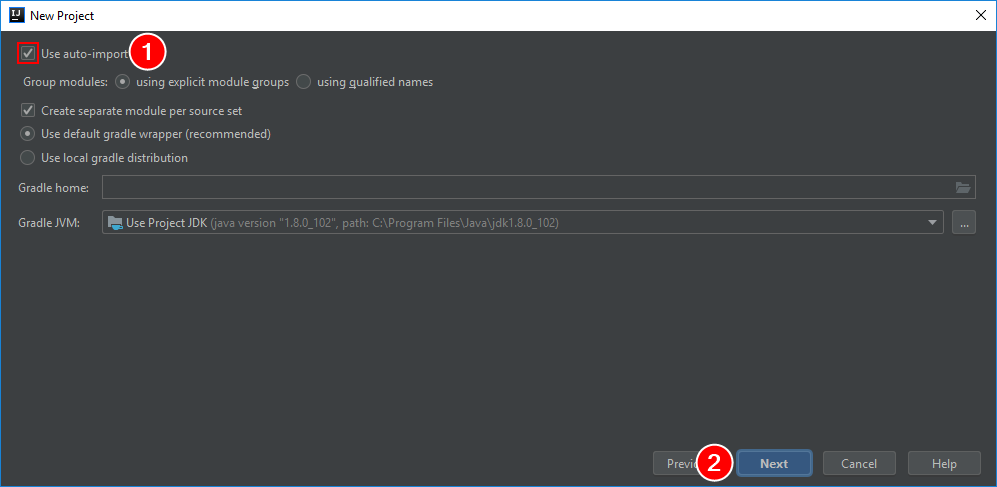
9. Check Use auto-import
10. Click Next
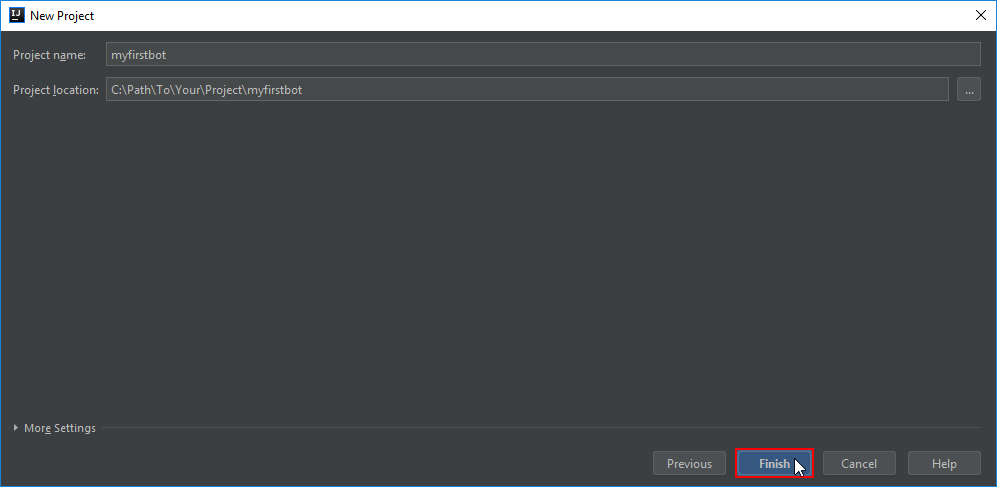
11. Click Finish
12. Locate the build.gradle file and open it
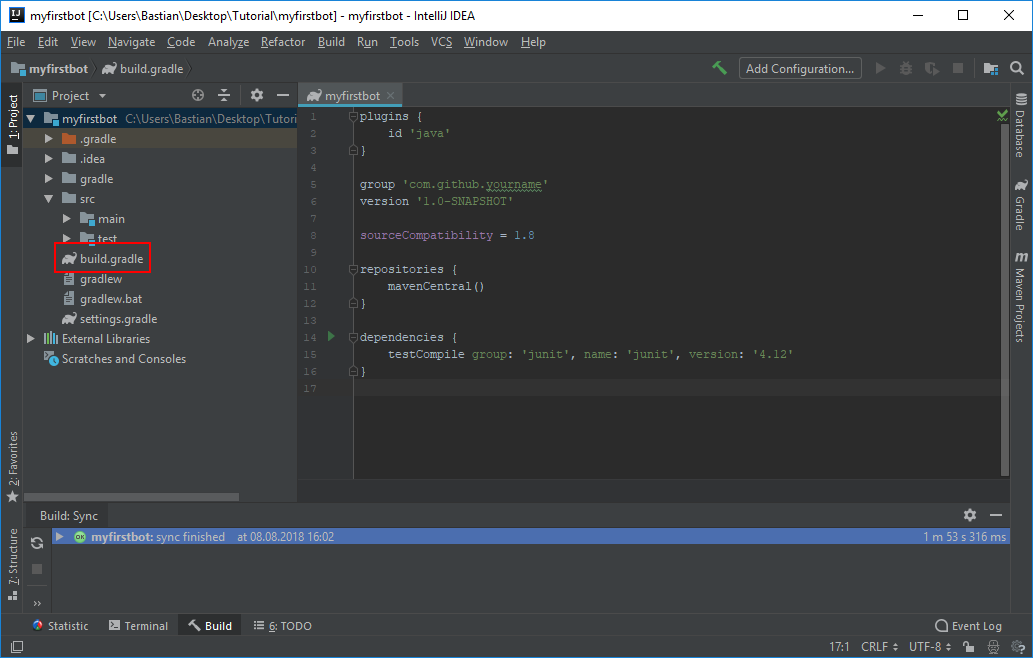
12. Add the Javacord dependency. Your build.gradle file should now look like this
plugins {
    id 'java'
}

group 'com.github.yourname'
version '1.0-SNAPSHOT'

sourceCompatibility = 1.8

repositories {
    mavenCentral()
}

dependencies {
    implementation 'org.javacord:javacord:$latest-version'
}
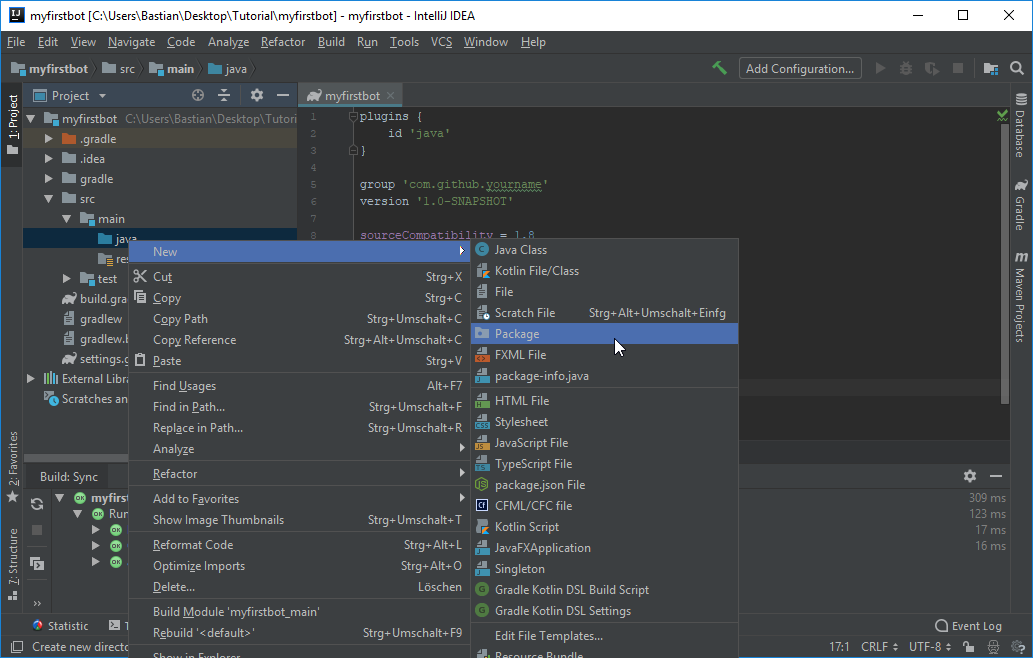
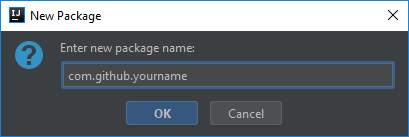
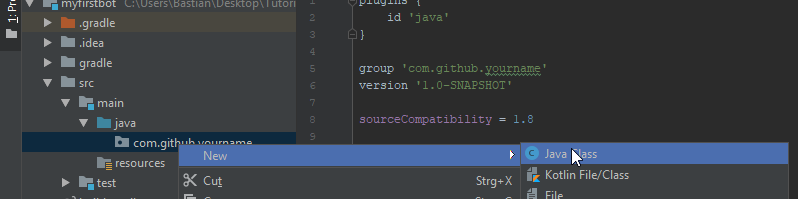
13. Create a new package in the src/main/java folder
14. Create a new class inside this package

15. You can now start coding!
Example code:
package com.github.yourname;

import org.javacord.api.DiscordApi;
import org.javacord.api.DiscordApiBuilder;

public class Main {

    public static void main(String[] args) {
        // Insert your bot's token here
        String token = "your token";

        DiscordApi api = new DiscordApiBuilder().setToken(token).login().join();

        // Add a listener which answers with "Pong!" if someone writes "!ping"
        api.addMessageCreateListener(event -> {
            if (event.getMessageContent().equalsIgnoreCase("!ping")) {
                event.getChannel().sendMessage("Pong!");
            }
        });

        // Print the invite url of your bot
        System.out.println("You can invite the bot by using the following url: " + api.createBotInvite());
    }

}
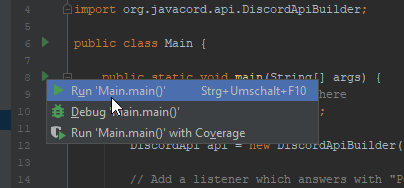
🏃♀️ Run the code
You can run your code by clicking on the small green arrow